
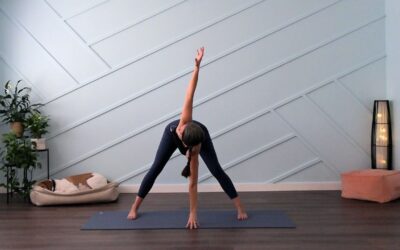
Bridge Pose is a dynamic yoga posture that provides many benefits yet is accessible to beginners. It’s a core body strengthener, chest opener, and inversion, all rolled into one powerful pose. Even though this pose is accessible to beginners, it’s packed with benefits, and you’ll find yourself returning to it repeatedly, even after years of practice.
Benefits of Bridge Pose (Setu Bandha Sarvangasana)
Before diving into how to get into bridge pose safely, let’s cover some of the benefits of this excellent asana.
- Strengthens the Core Muscles: Bridge Pose engages the core muscles, including the abdominals, hip flexors, lower back, and glutes.
- Strengthens Leg Muscles: The thighs, buttocks, hamstrings, and knees all play an active role in this pose.
- Opens the Chest and Shoulders: As a gentle backbend, this pose opens and stretches the front body, including the chest and shoulders.
- Improves Spinal Flexibility: Over time and with practice, your range of motion and flexibility of the spine and pelvic muscles will increase.
- Calms the Mind: As a gentle inversion, this pose can calm the nervous system, making it a great option to help relieve stress.
Let’s Have Some Fun:
Set-Up

- From a seated position, bend your knees and place your feet firmly on the mat.
- Make sure your feet align with your hip joints or slightly wider if that is more comfortable.
- Lay down on your back
- Place your arms down by your side.
- New students may like to grab the sides of the mat to help find a bit of extra stability
- Lean slightly from side to side to tuck your shoulderblades under evenly
- Activate your core by pulling your lower belly in and up to help you find a neutral pelvis
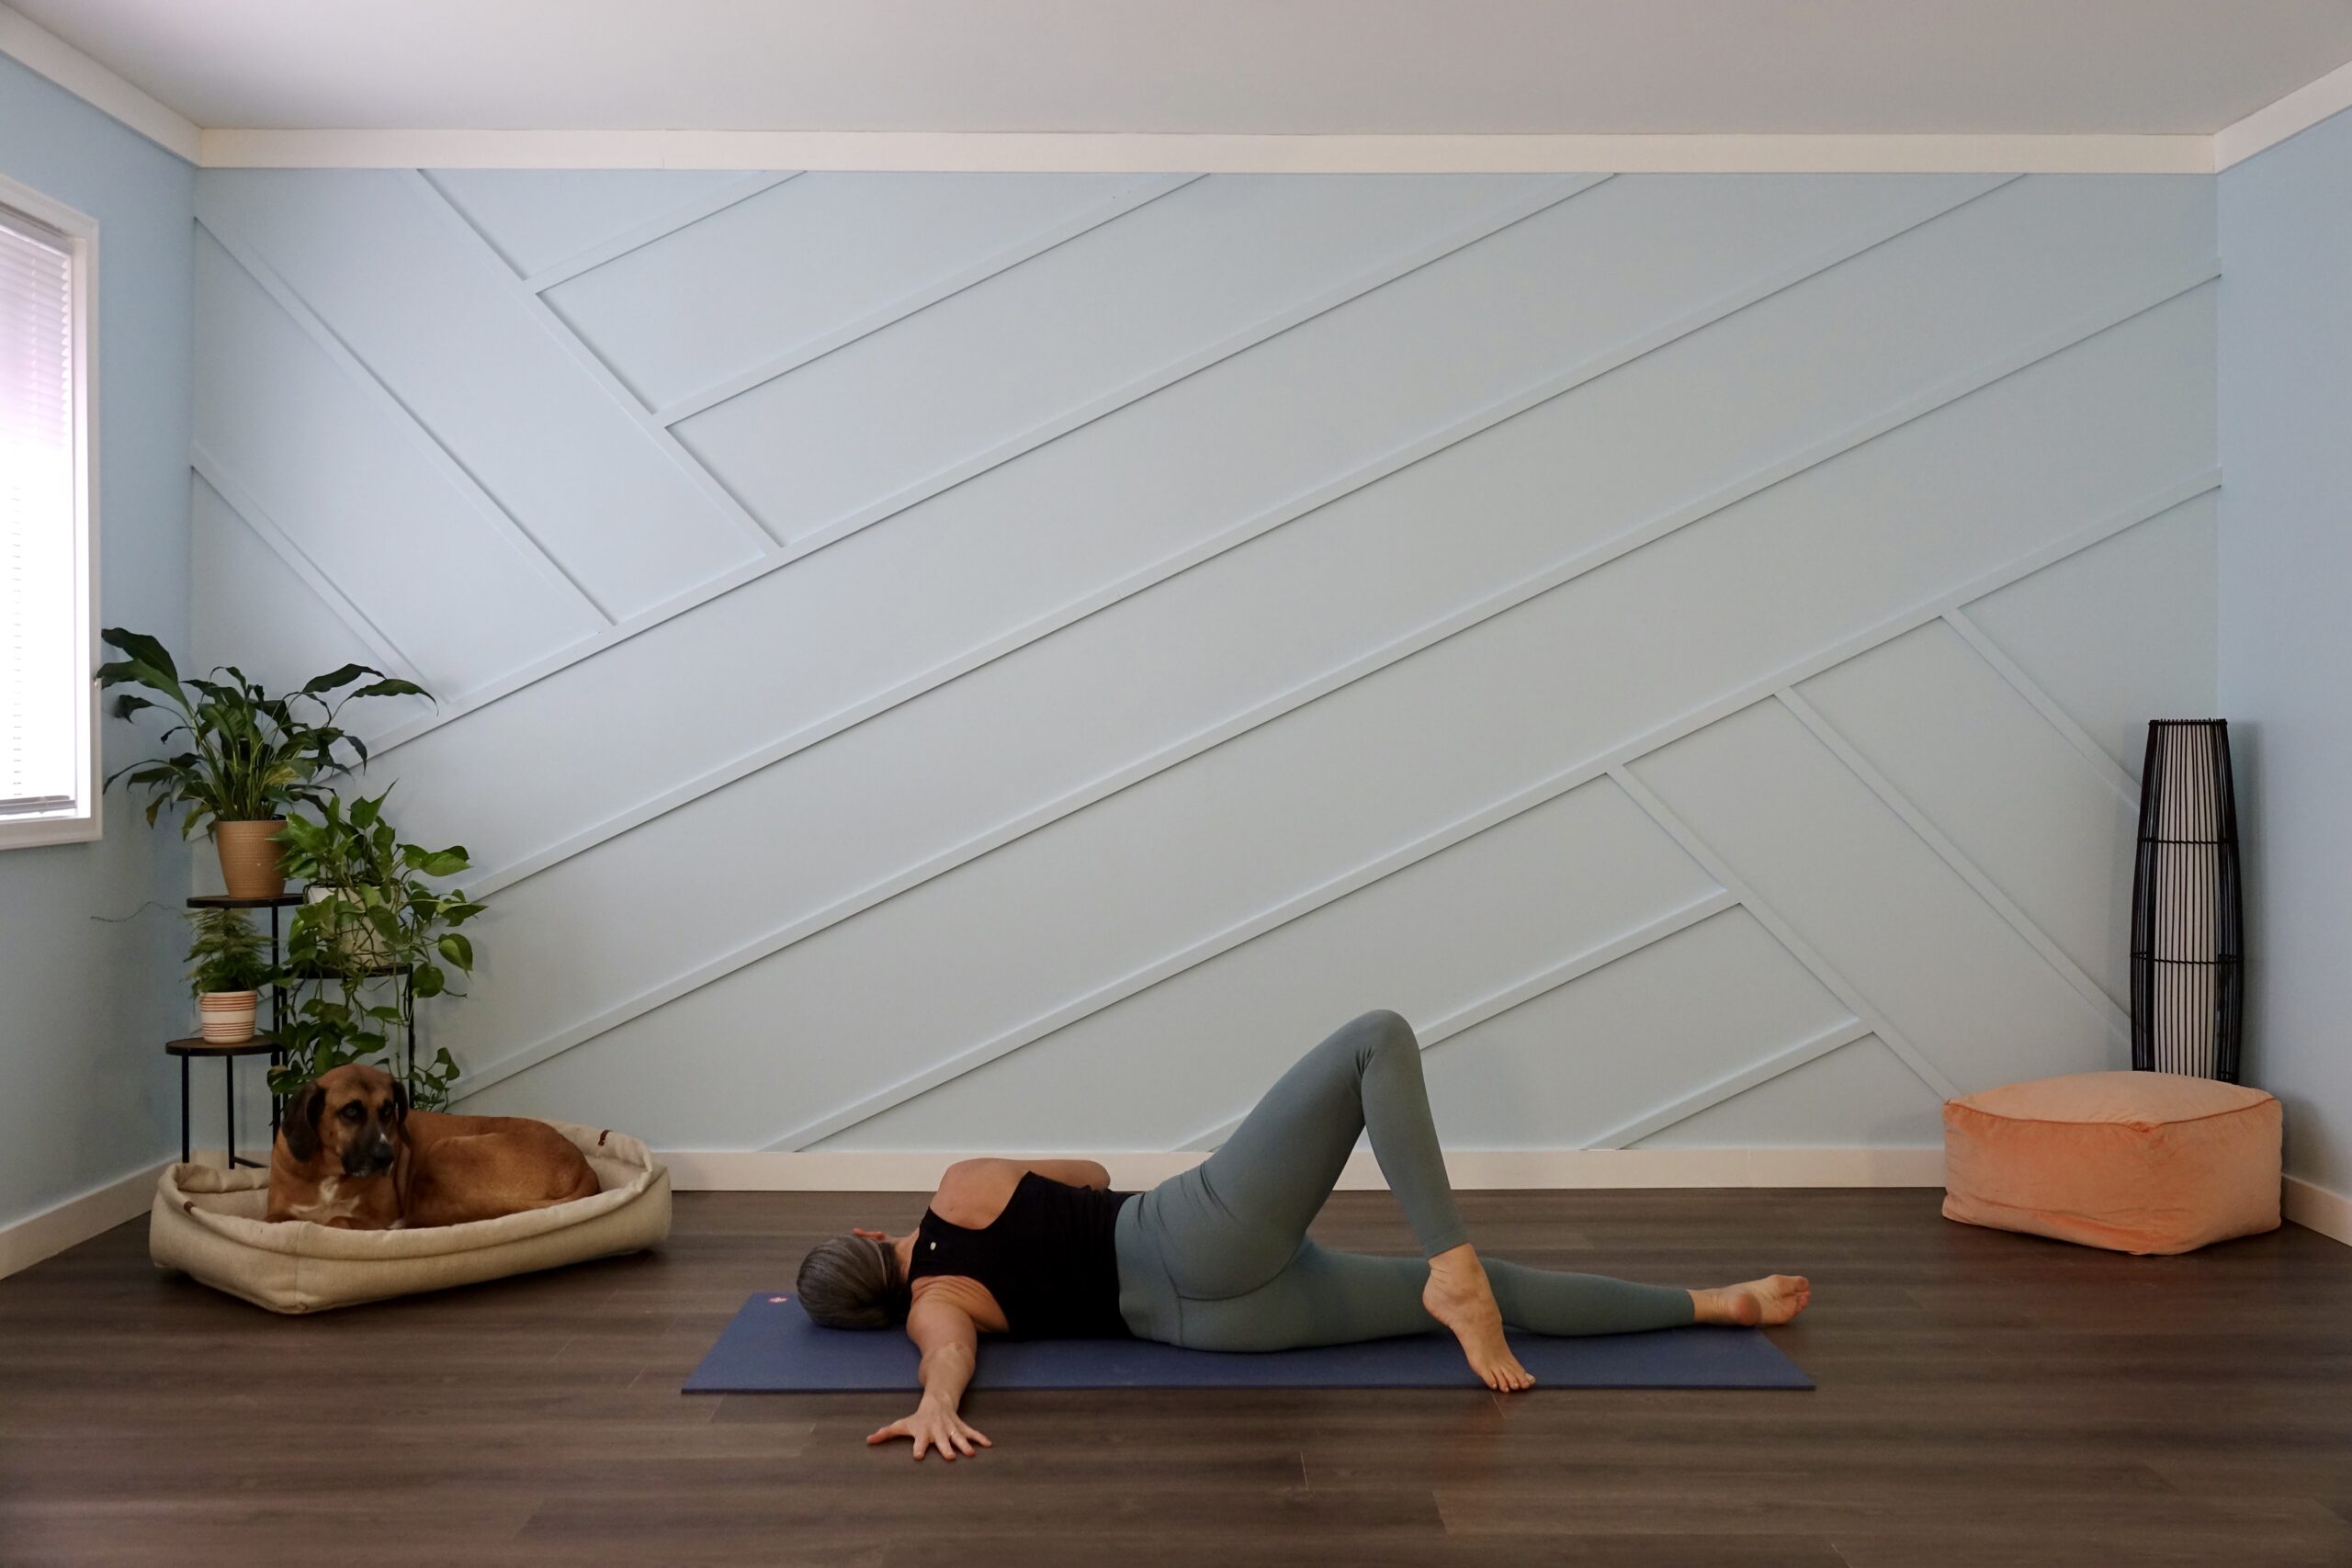
Lift Into Bridge
- Drive your feet into the ground equally as you lift your tailbone, then hips, then back into the air.
- Think of using your front body to lift your hips in the air (core, hip flexors, quadriceps)
- Once your hips are as high as is sustainable for your practice, engage the back body for support:
-
- While leaving your feet planted on the mat, activate your muscles like you were trying to slide your feet up towards your shoulders – isometric movement
- This will engage your hamstrings and glutes to help support and stabilize the pose without straining the lower back
-
- Keep your knees and the top of your thighs pointing up toward the ceiling; don’t let them fall open to the sides
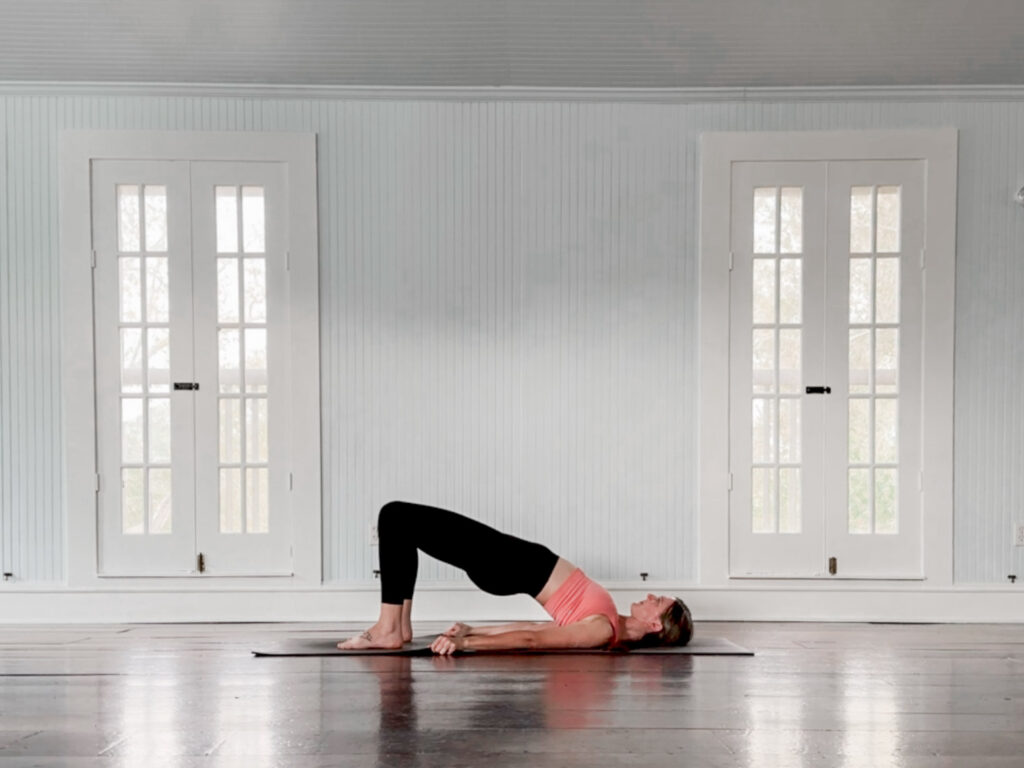
- If you grab the sides of your yoga mat, gently pull it like you are trying to make the mat wider.
- This will activate the muscles across the chest, providing a bit more chest opening.
- See the photo above for this variation
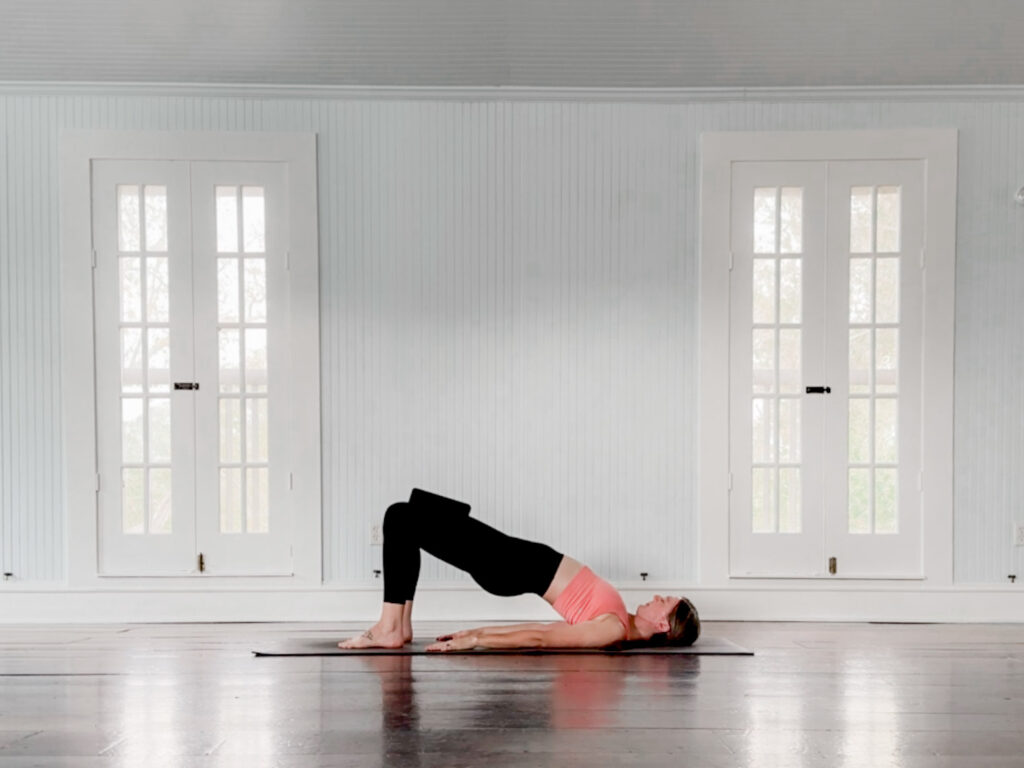
- Alternatively, walk your arms towards each other underneath your body and clasp your hands.
- Hold the weight of your body in your feet and shoulders, not your neck or head
- Keep your neck long and relaxed with your head neutral; sometimes, it helps to open and close your mouth a few times to ensure you aren’t holding tension in your neck and jaw.
- Hold the pose and breathe for five complete breaths
- You can increase the duration of the hold as you become more experienced with the pose
- To exit the pose, release your hands from its clasp or from grabbing the sides of the mat and slowly roll your spine back down onto the mat
- Allow your knees to fall from side to side a few times (often called windshield wiping your knees), or follow up with gentle core work
Use A Block For Support
There are a few ways to use a block to help with alignment and provide support.
Block Between Feet
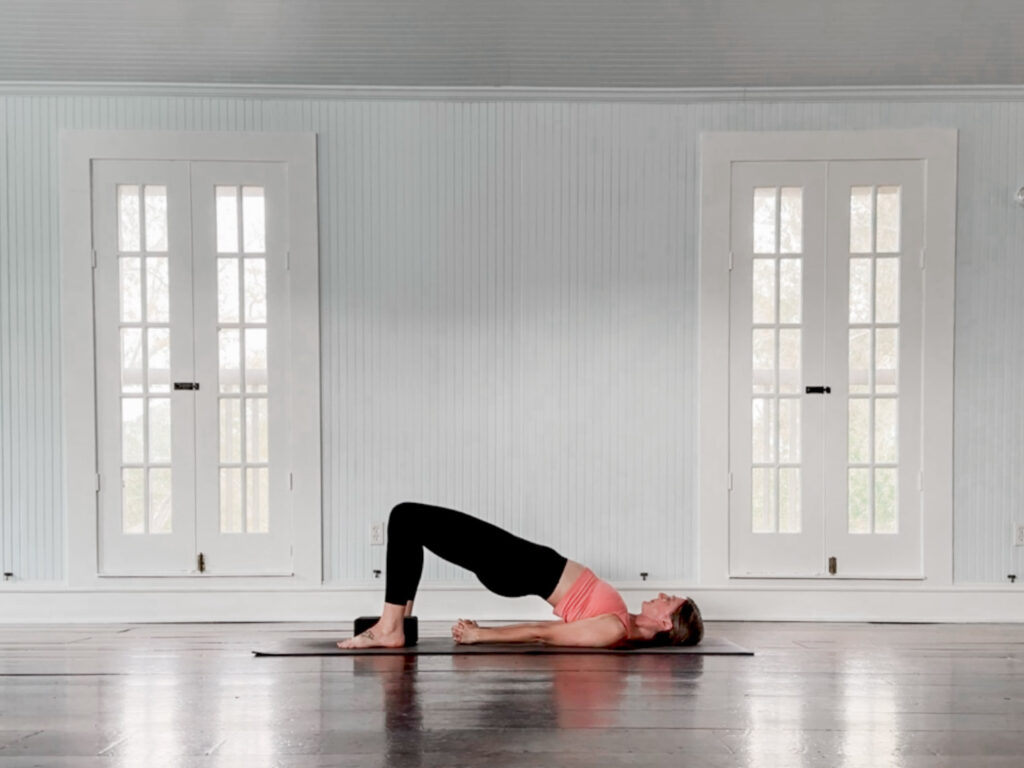
- Place a block or two between your feet.
- You want the width of the blocks to reflect the spacing of your hip joints, so position the blocks at whatever height is necessary for your body’s alignment.
- Keep the blocks between your feet as you lift your hips and hold the pose
- This will help you to keep your feet aligned and prevent you from dumping into one side of your feet
Block Between Thighs
- Place a block on its narrow width between your thighs
- Squeeze the block and keep it between your legs as you lift into Bridge Pose
- This helps to keep your hips, knees, and feet aligned
- It engages the leg muscles to help stabilize the pose
Supported Bridge
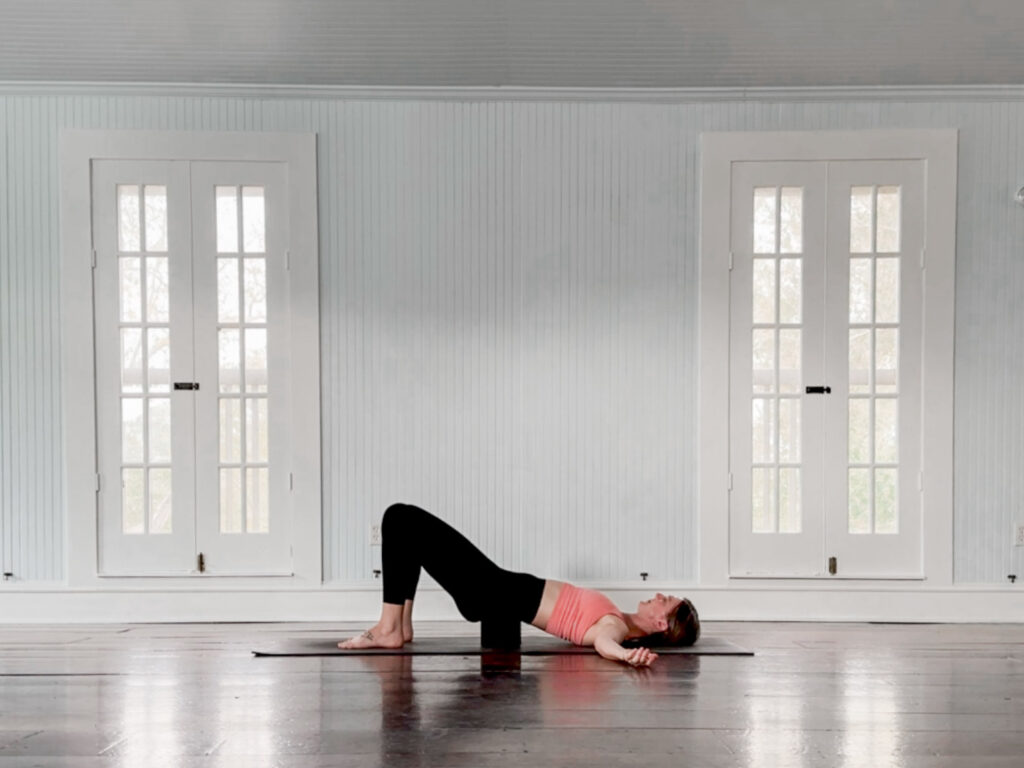
- For a supported version of this asana, slide a block or bolster under your hips and rest on the prop.
- This allows for a passive inversion, highlighting the calming effects of this pose.
It’s generally advised not to tuck your knees to your chest immediately after any backbend. Moving from full extension to full contraction can cause soreness or injury for some students. Pausing for a few breaths, adding some gentle core work, or windshield wiping the knees are all options that help to prevent this.
The Controversy Over Bridge Pose Alignment
If you’ve taken more than one yoga class before, you’ve probably heard a teacher say that your feet must be hips-width apart and parallel to protect your lower back. In truth, positioning the feet a little wider than the hips but not as wide as the yoga mat is equally as safe. It may make the pose more accessible to beginners and help alleviate back pain. This extra width can provide more room for the hip flexors and quadriceps to lengthen and the glutes and hamstrings to support the pose.
Whenever you move into hip extension, you need to support that extension with glute engagement to keep the joints stable.
You may also hear that your glutes should be relaxed in Bridge Pose, which contradicts how our body works. Whenever you move into hip extension, you need to support that extension to keep the joints stable. Your glutes are one of the strongest muscle groups in the body, and they naturally engage to support the joint. Consciously use the glutes to help support the pose, not to thrust the hips into the air further.
Here’s a great podcast from a trusted yoga teacher (Jenni Rawlings) and exercise science professor (Travis Pollen) if you want to hear all about the glutes and get an in-depth discussion about using the glutes in backbends.
The Takeaway
Bridge Pose is a great pose to counteract the effects of extended time sitting at a desk or reclining on a couch. It’s an empowering pose with both physical and mental benefits. With continued practice and a focus on alignment and stability, this powerhouse pose will benefit you across your lifetime and yield strength and flexibility.
Sources
Ressinka, Judit (2016) Getting Back To Exercise Without Pain: The Lower Back. Recreation, 6 (2). pp. 14-17. ISSN 2064-4981
https://jasonyoga.com/2017/09/29/backbends-engage-your-glutes/
Tonya is a 500hr RYT based in Coastal Mississippi. She loves that she gets to share the joy and healing that yoga brought to her life. In addition to teaching yoga, she flips houses with her husband. Tonya is a travel enthusiast who loves the outdoors and adventure. You'll find her at the local beach, volunteering at the animal shelter, and playing with her forever and foster dogs.


0 Comments